Don't you just hate it when you get nerd sniped?
I don't either. It is usually quite fun. Case in point, some time ago I came upon this YouTube video:
It is about how a "500 piece puzzle" usually does not have 500 pieces, but instead slightly more to make manufacturing easier (see the video for the actual details, they are actually quite interesting). As I was watching the video I came up with an idea for my own math-themed jigsaw puzzle.
You can probably guess where this is going.
The idea would not leave me alone so I had to yield to temptation and get the damn thing implemented. This is where problems started. The puzzle required special handling and tighter tolerances than the average jigsaw puzzle made from a custom photo. As a taste of things to come, the final puzzle will only have two kind of pieces, namely these:

For those who already deciphered what the final result will look like: good job.
As you can probably tell, the printed pattern must be aligned very tightly to the cut lines. If it shifts by even a couple of millimeters, which is common in printing, then the whole thing breaks apart. Another requirement is that I must know the exact piece count beforehand so that I can generate an output image that matches the puzzle cut.
I approached several custom jigsaw puzzle manufacturers and they all told me that what I wanted was impossible and that their manufacturing processes are not capable of such precision. One went so far as to tell me that their print tolerances are corporate trade secrets and so is the cut used. Yes, the cut. Meaning the shapes of the resulting pieces. The one feature that is the same on every custom jigsaw puzzle and thus is known by anyone who has ever bought one of them. That is a trade secret. No, it makes no sense to me either.
Regardless it seemed like the puzzle could not be created. But, as the old saying goes, all problems are solvable with a sufficient application of public libraries and lasers.

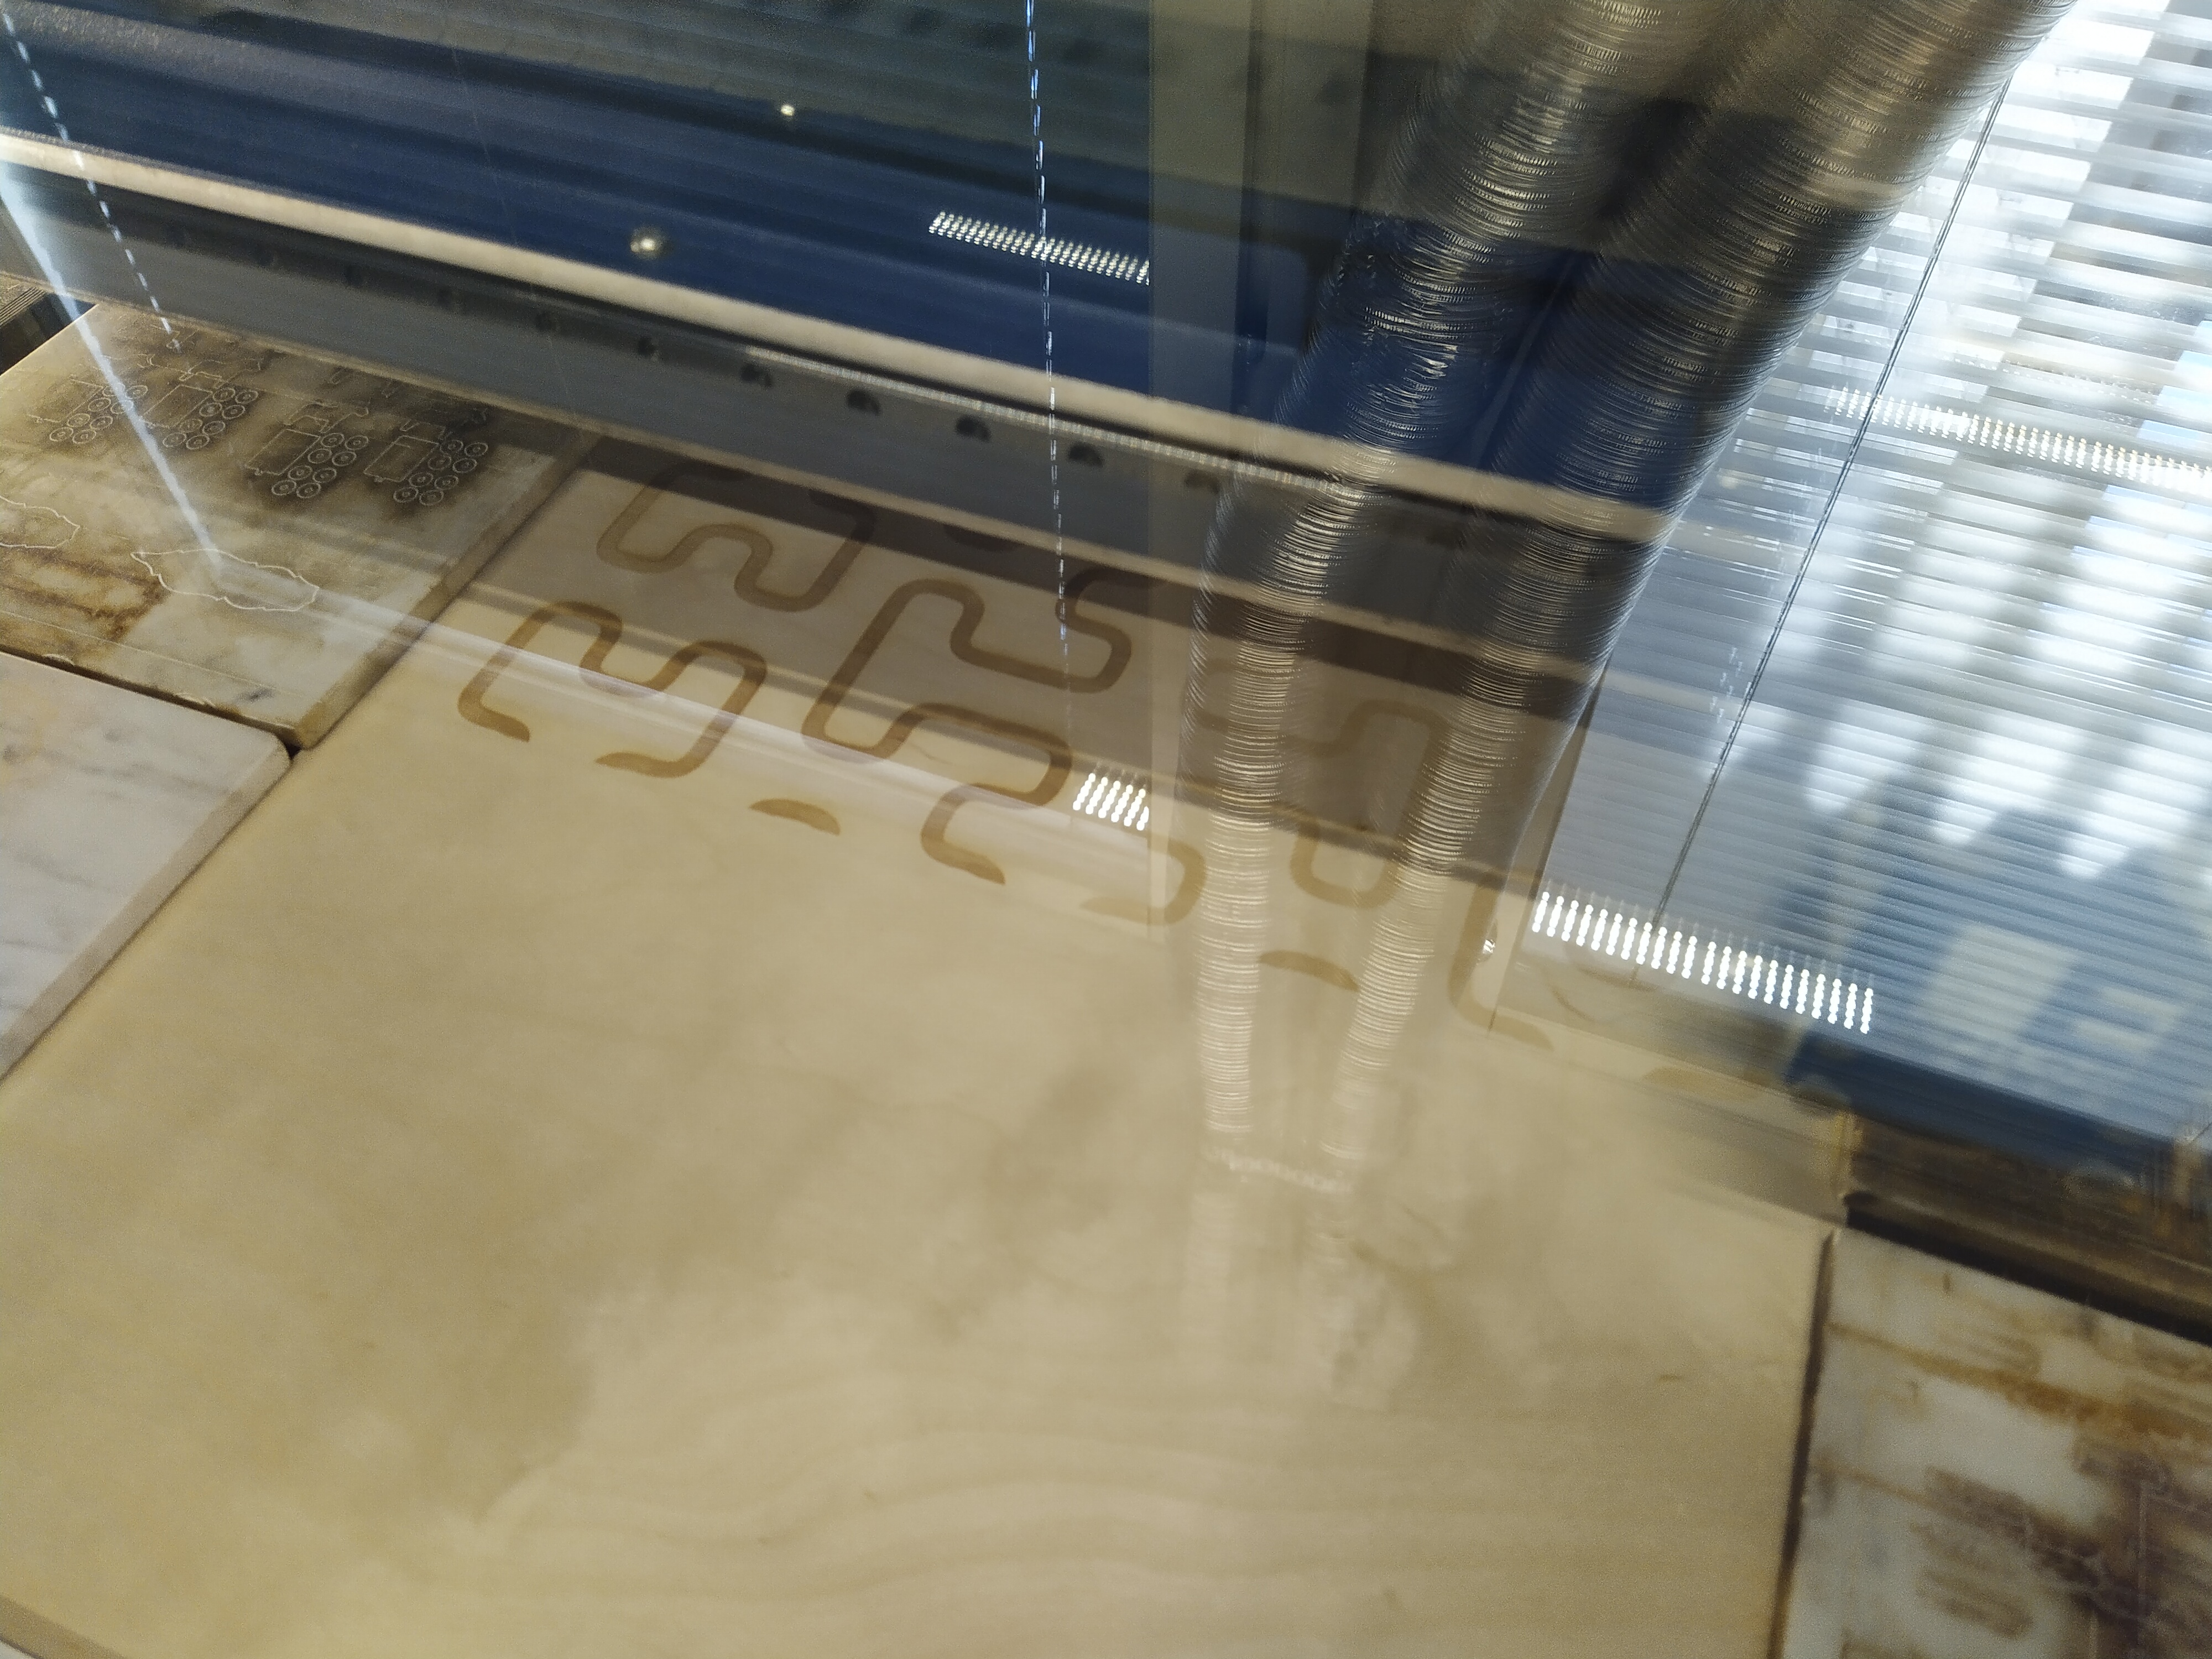
This is a 50 Watt laser cutter and engraver that is freely usable in my local library. This nicely steps around the registration issues because printing and cutting are done at the same time and the machine is actually incredibly accurate (sub-millimeter). The downside is that you can't use color in the image. Color is created by burning so you can only create grayscale images and the shade is not particularly precise, though the shapes are very accurate.
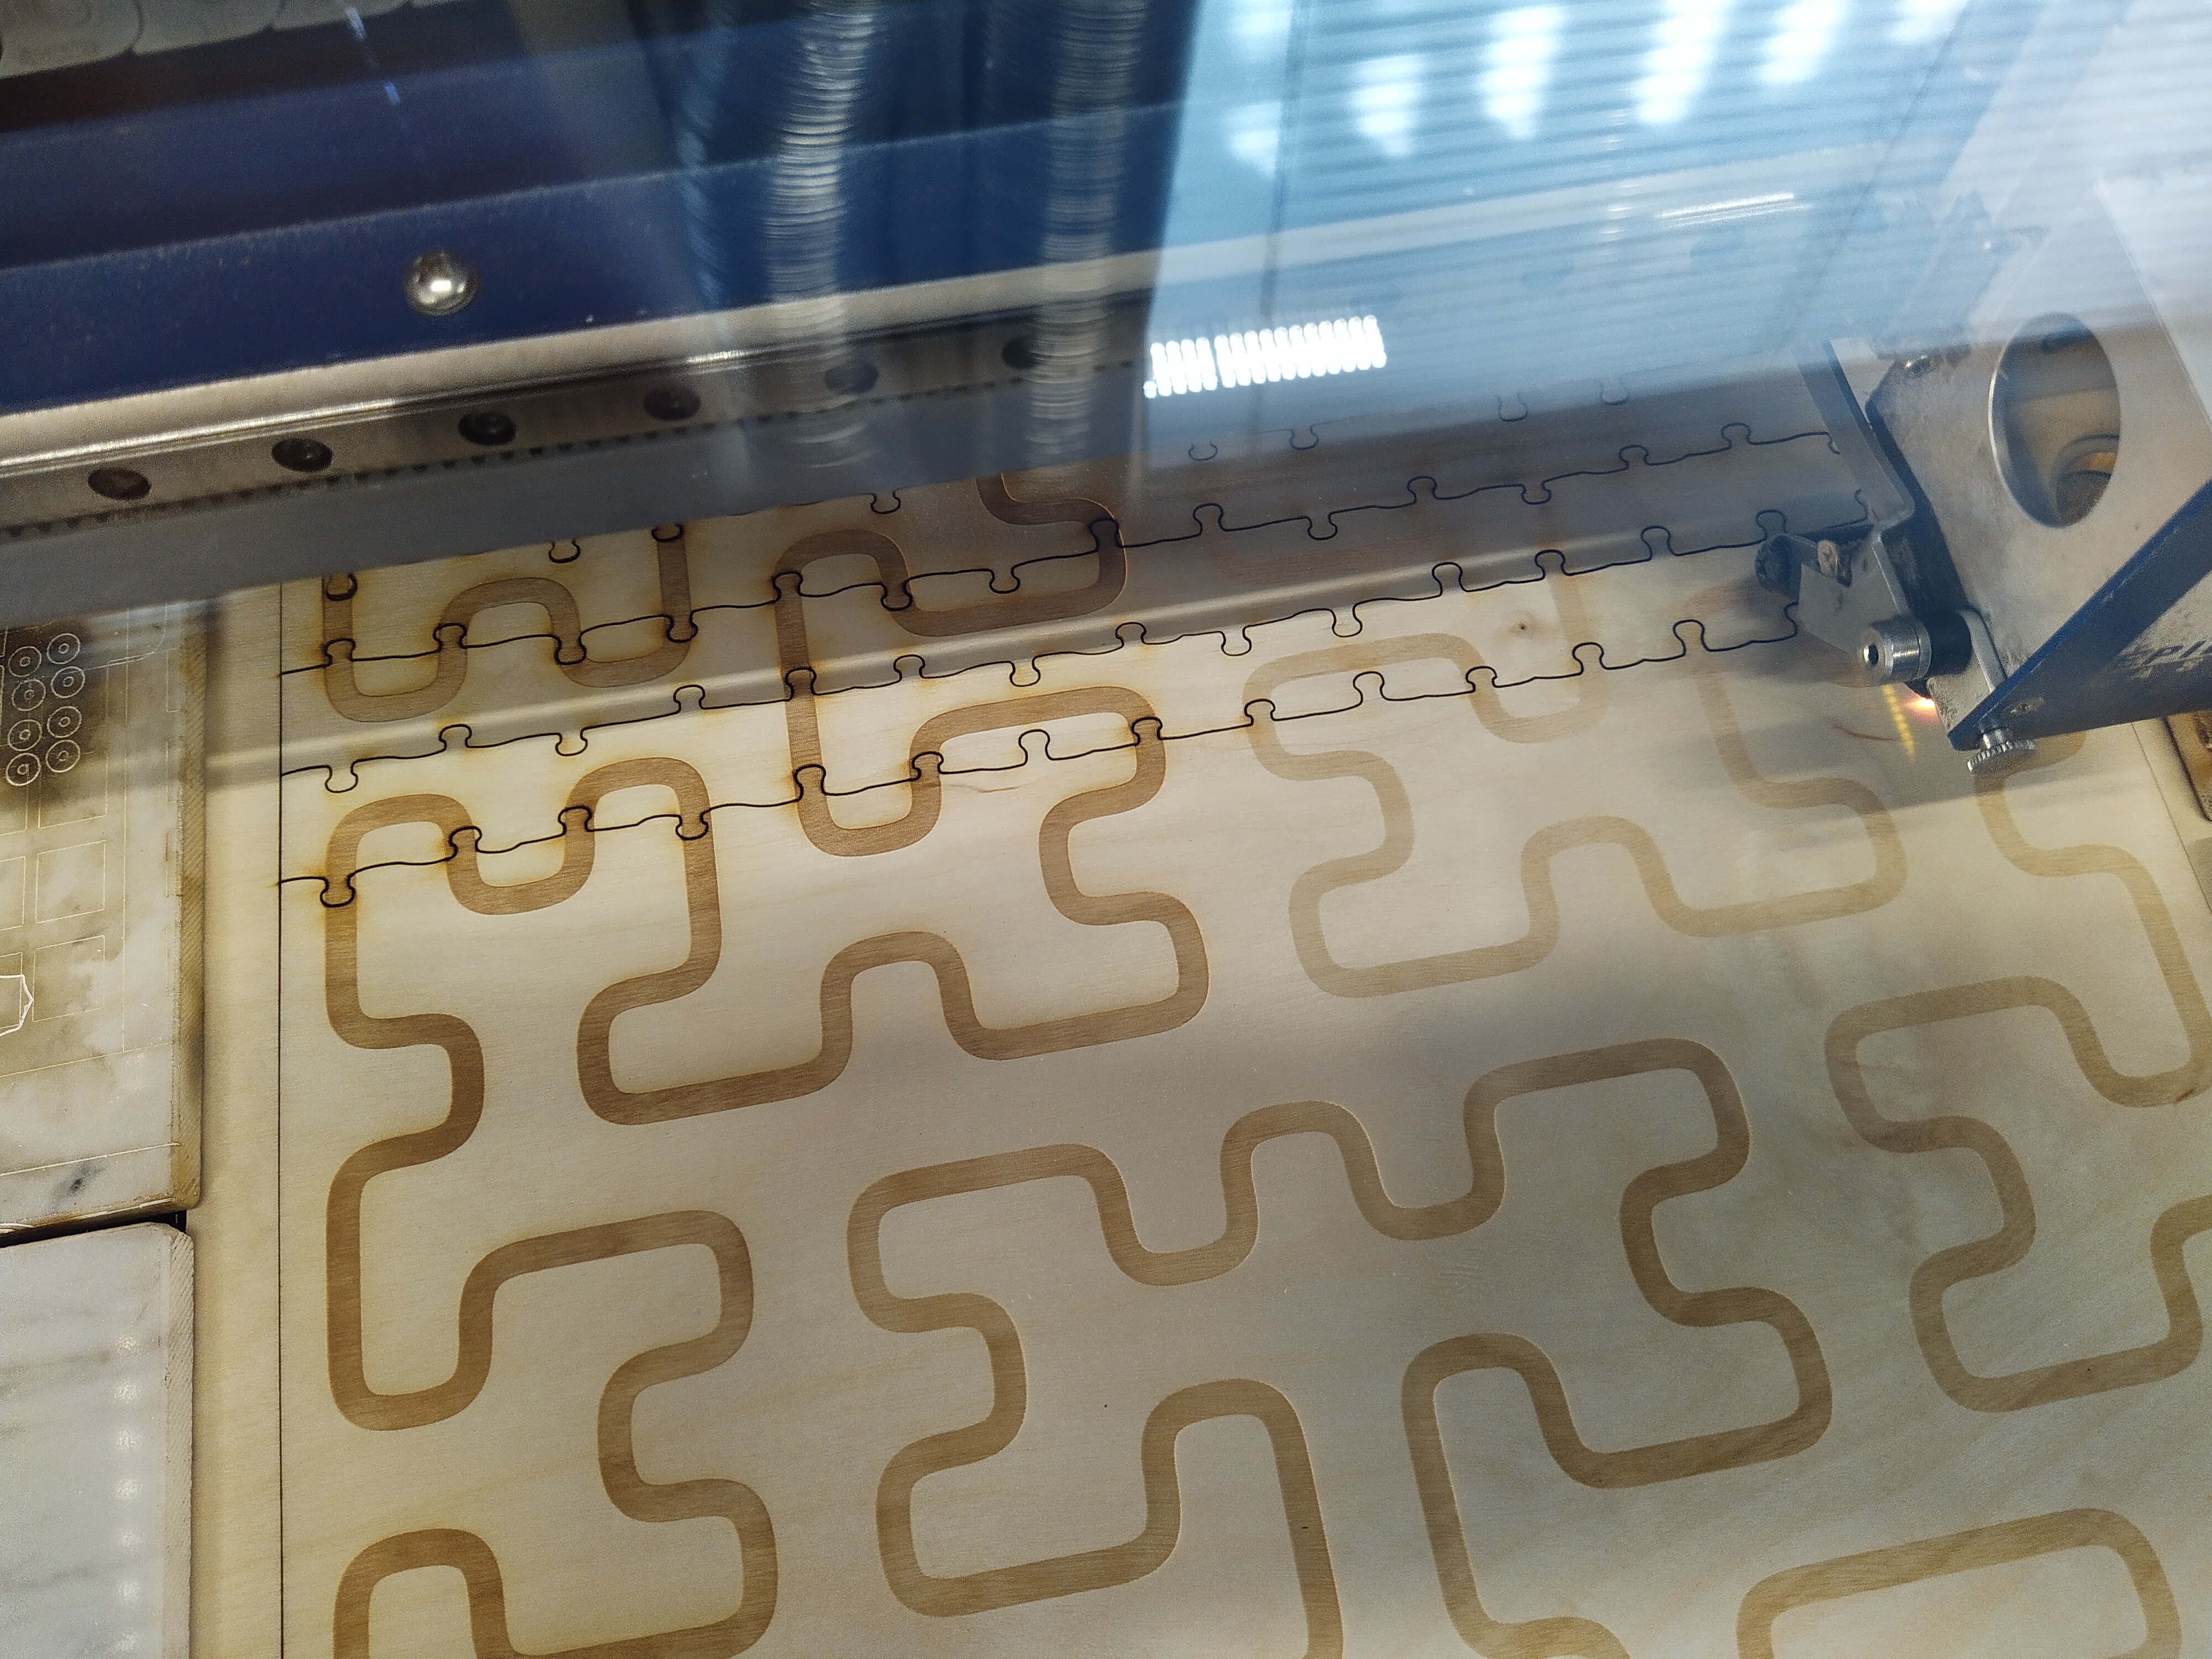
After figuring this out the procedure got simple. All that was needed was some Python, Cairo and 3mm plywood. Here is the machine doing the engraving.
After the image had been burned, it was time to turn the laser to FULL POWER and cut the pieces. First sideways
then lengthwise.

And here is the final result all assembled up.

This is a 256 piece puzzle showing a Hilbert Curve. It is a space filling curve, that is, it travels through each "pixel" in the image exactly once in a continuous fashion and never intersects itself. As you can (hopefully) tell, there is also a gradient so that the further along the curve you get the lighter the printing gets. So in theory you could assemble this jigsaw puzzle by first ordering the pieces from darkest to lightest and then just joining the pieces one after the other.
The piece cut in this puzzle is custom. The "knob" shape is parameterized by a bunch of variables and each cut between two pieces has been generated by picking random values for said parameters. So in theory you could generate an arbitrarily large jigsaw puzzle with this method (it does need to be a square with the side length being a power of two, though).
I just found this via hacker news. Would you care to share your "trade secrets" about the knob parameters? I am curious as I designed my own system to accomplish the same thing. At the time I found very few resources online for this. https://github.com/alanbernstein/pyzzle/blob/a2a2788a78f3e59222bb933964436982541df9b5/edge.py#L87
ReplyDeleteI did not do anything fancy. Just created a single path by hand that looked like a connector and varied the locations of its nodes and control points. The outcome was not that good, to be honest, some of the pieces were similar enough that I connected things to wrong places and a couple of times the shapes of two edges almost overlapped each other. This part would probably need a lot of hand tuning based on real world experience.
Delete