In the previous post we looked at creating a custom jigsaw puzzle from scratch using a laser printer and engraver because jigsaw puzzle manufacturers would not disclose their printing and cutting tolerances. As a refresher, here is what the end result looked like.

After assembling this puzzle once the main issue became apparent quite immediately. The curve needs to have a smooth linear gradient from black to white. Since this is a 256 piece puzzle it would require 256 discrete gray levels. Unfortunately the engraver can't achieve this level of precision. There are maybe 64 different achievable levels in practice and different parts of the plywood board react differently to the laser. Thus it is actually fairly difficult to judge where any given piece should go and assembling the final puzzle was not really fun. Back to the old drawing board, then.
The only other way of doing this seems to be to print the artwork to a separate sheet of paper, glue it to a plywood board and then cut the end result with a laser cutter. The problem with this is that you need to be very precise with registration. Even if you get the alignment perfect in one corner, it can be completely off in the opposite corner if the printed artwork gets glued down at an angle. Individual pieces are about two centimeters on each side so if the pattern is off by more than a few millimeters the end result looks bad.
The only real way of finding out whether this is possible is to try it out. Therefore:
Hilbert's Rainbow
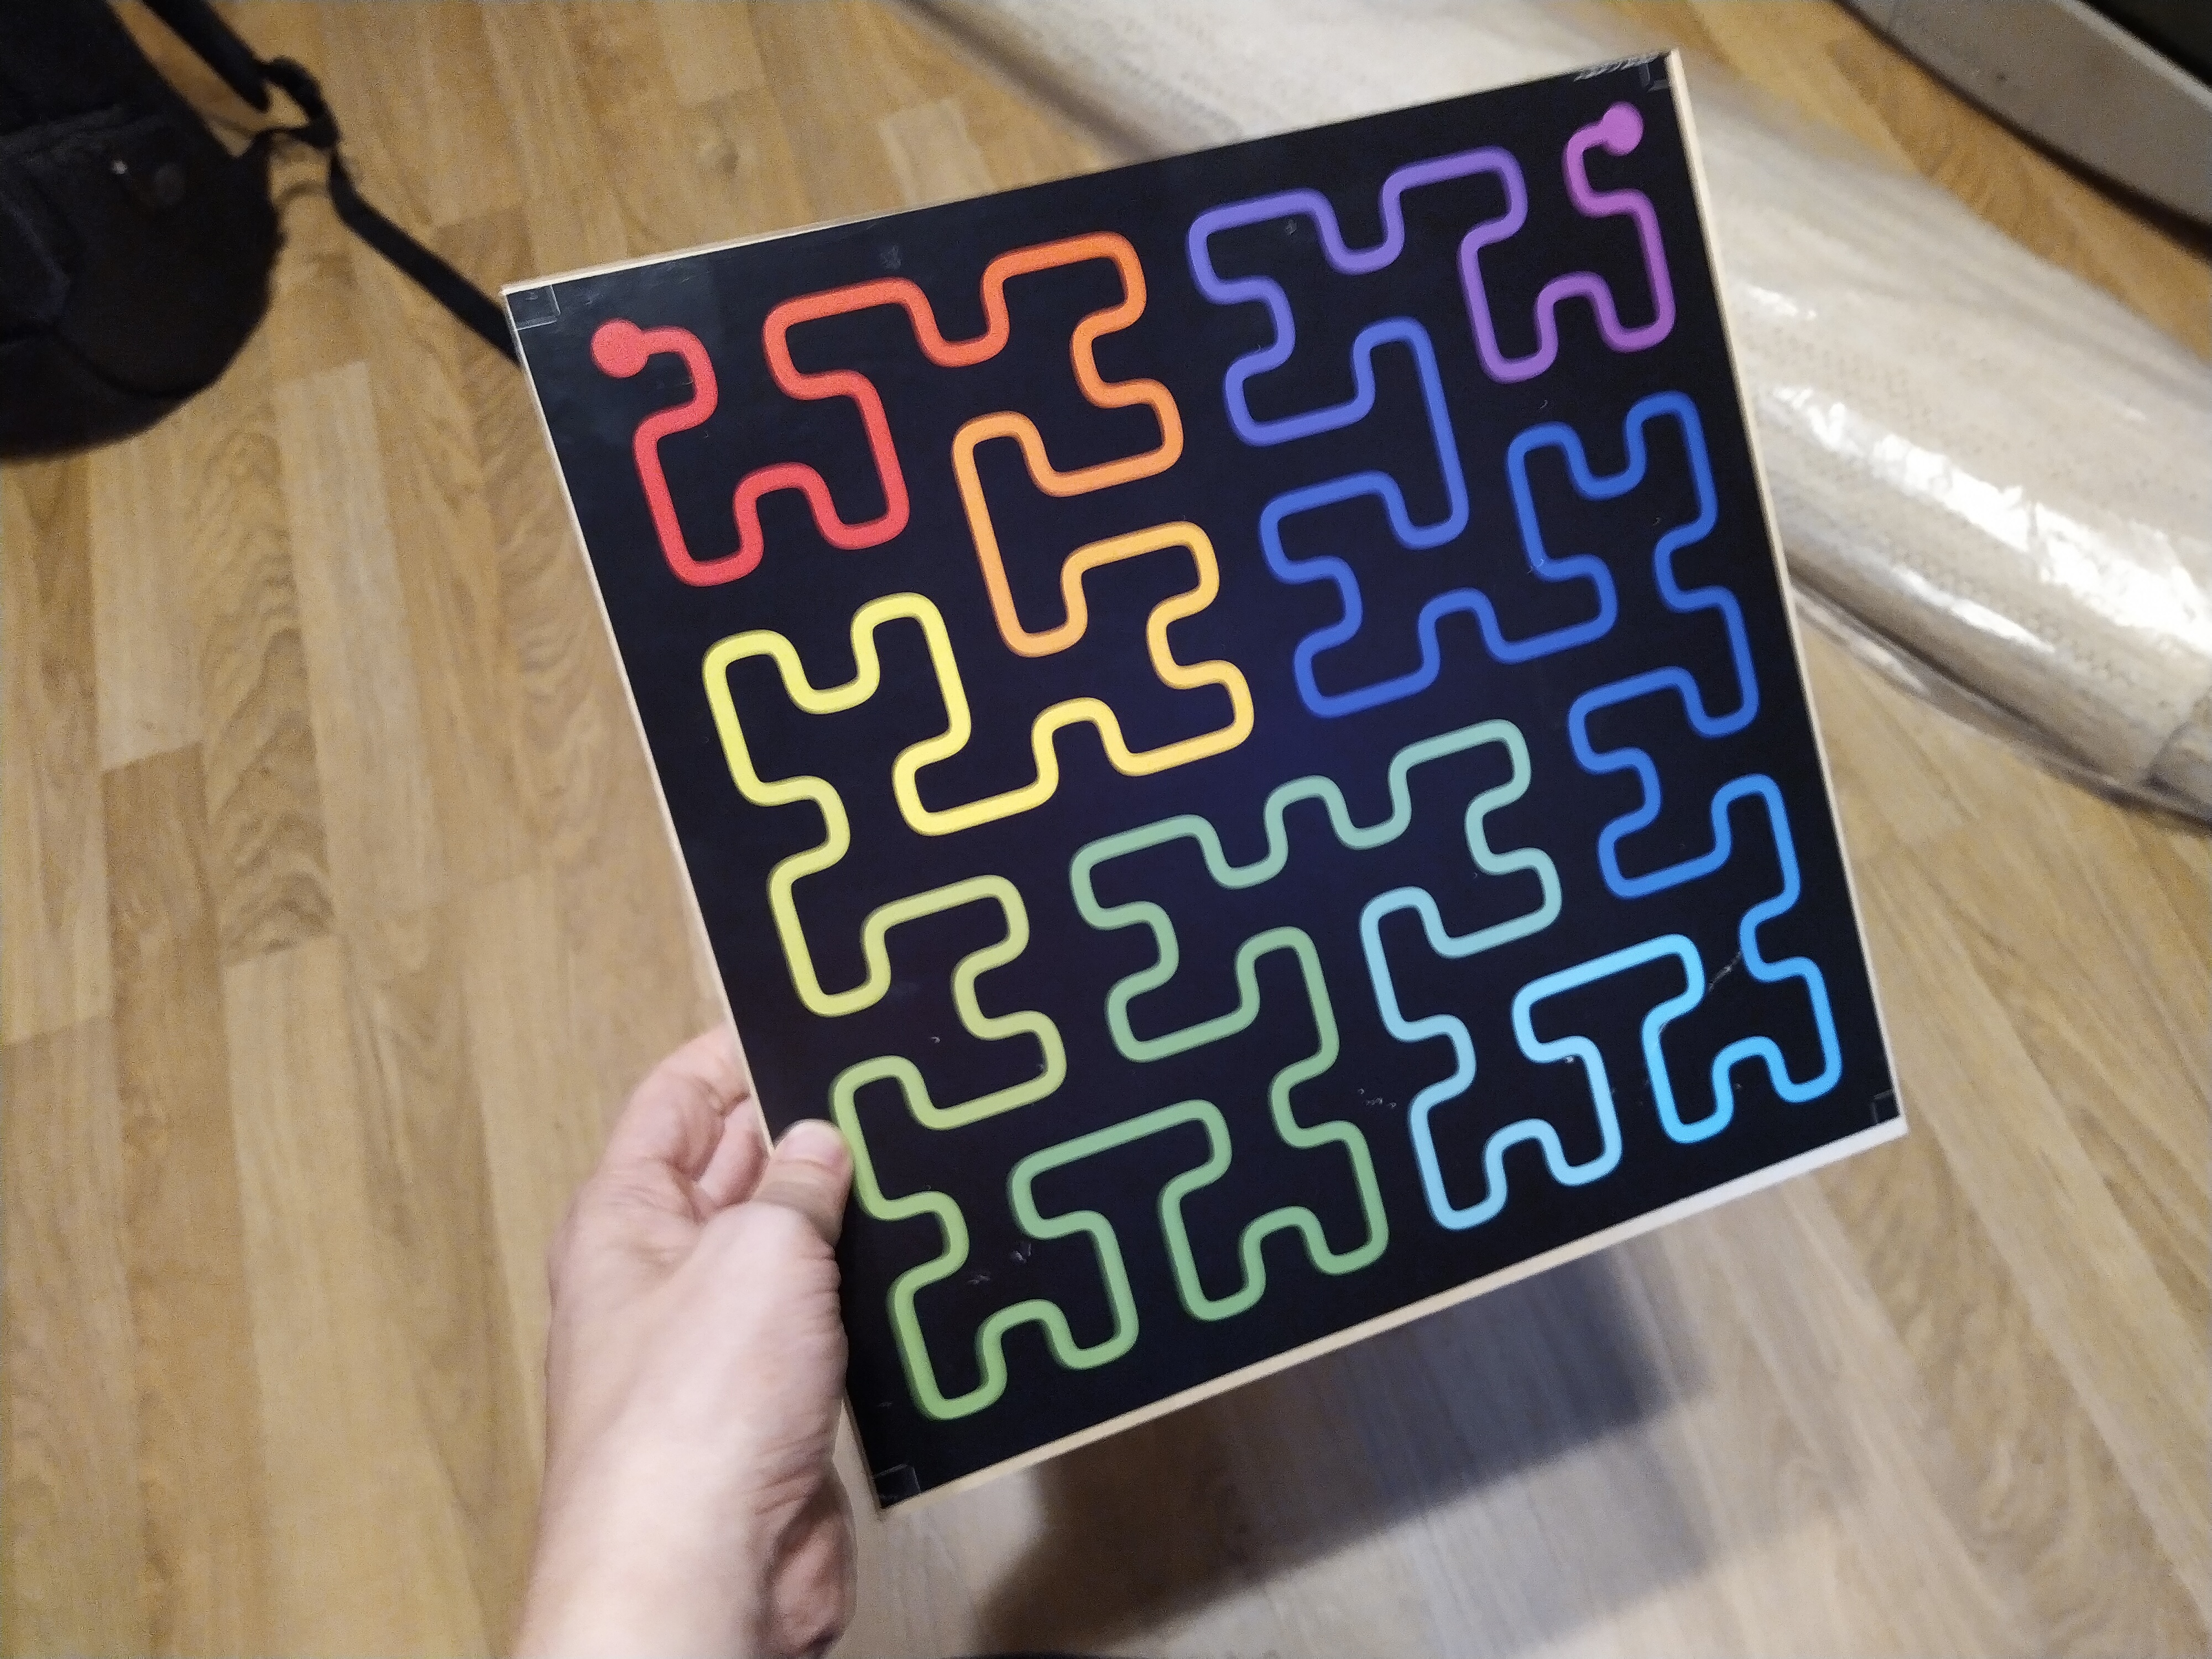
Here is the artwork printed and glued to a 30 x 30 cm plywood board. If you look at the picture carefully you can see that a) the plywood is not exactly square b) its angles are not at exactly 90 degrees to each other and c) the artwork got glued at a slight angle. Moving the paper after it was first laid down was really hard, even though the glue was still wet. Those with sharp eyes might even notice the white registration marks in the corners that are used to align the laser. I had to leave additional comments for the printing shop that the things that look like crop marks are in fact not crop marks and that they need to be left in the final printout.
Onwards to the laser!

After cutting the pieces can be separated.

All that's left is to assemble the puzzle.

As you can probably guess from this comparison picture, assembling the color version was much easier. For any piece it was immediately obvious where in the final puzzle it should go and classifying pieces to separate groups by color was straightforward. I did not even need to assemble the edges first as one typically does with regular jigsaw puzzles. It would have been harder than just following the color gradient line.
Putting it all together we find that with a printer, laser cutter and some ingenuity and elbow grease it is possible to create a product that, according to their own words, major jigsaw puzzle manufacturing plants were not able to produce.
Which is nice.
No comments:
Post a Comment